
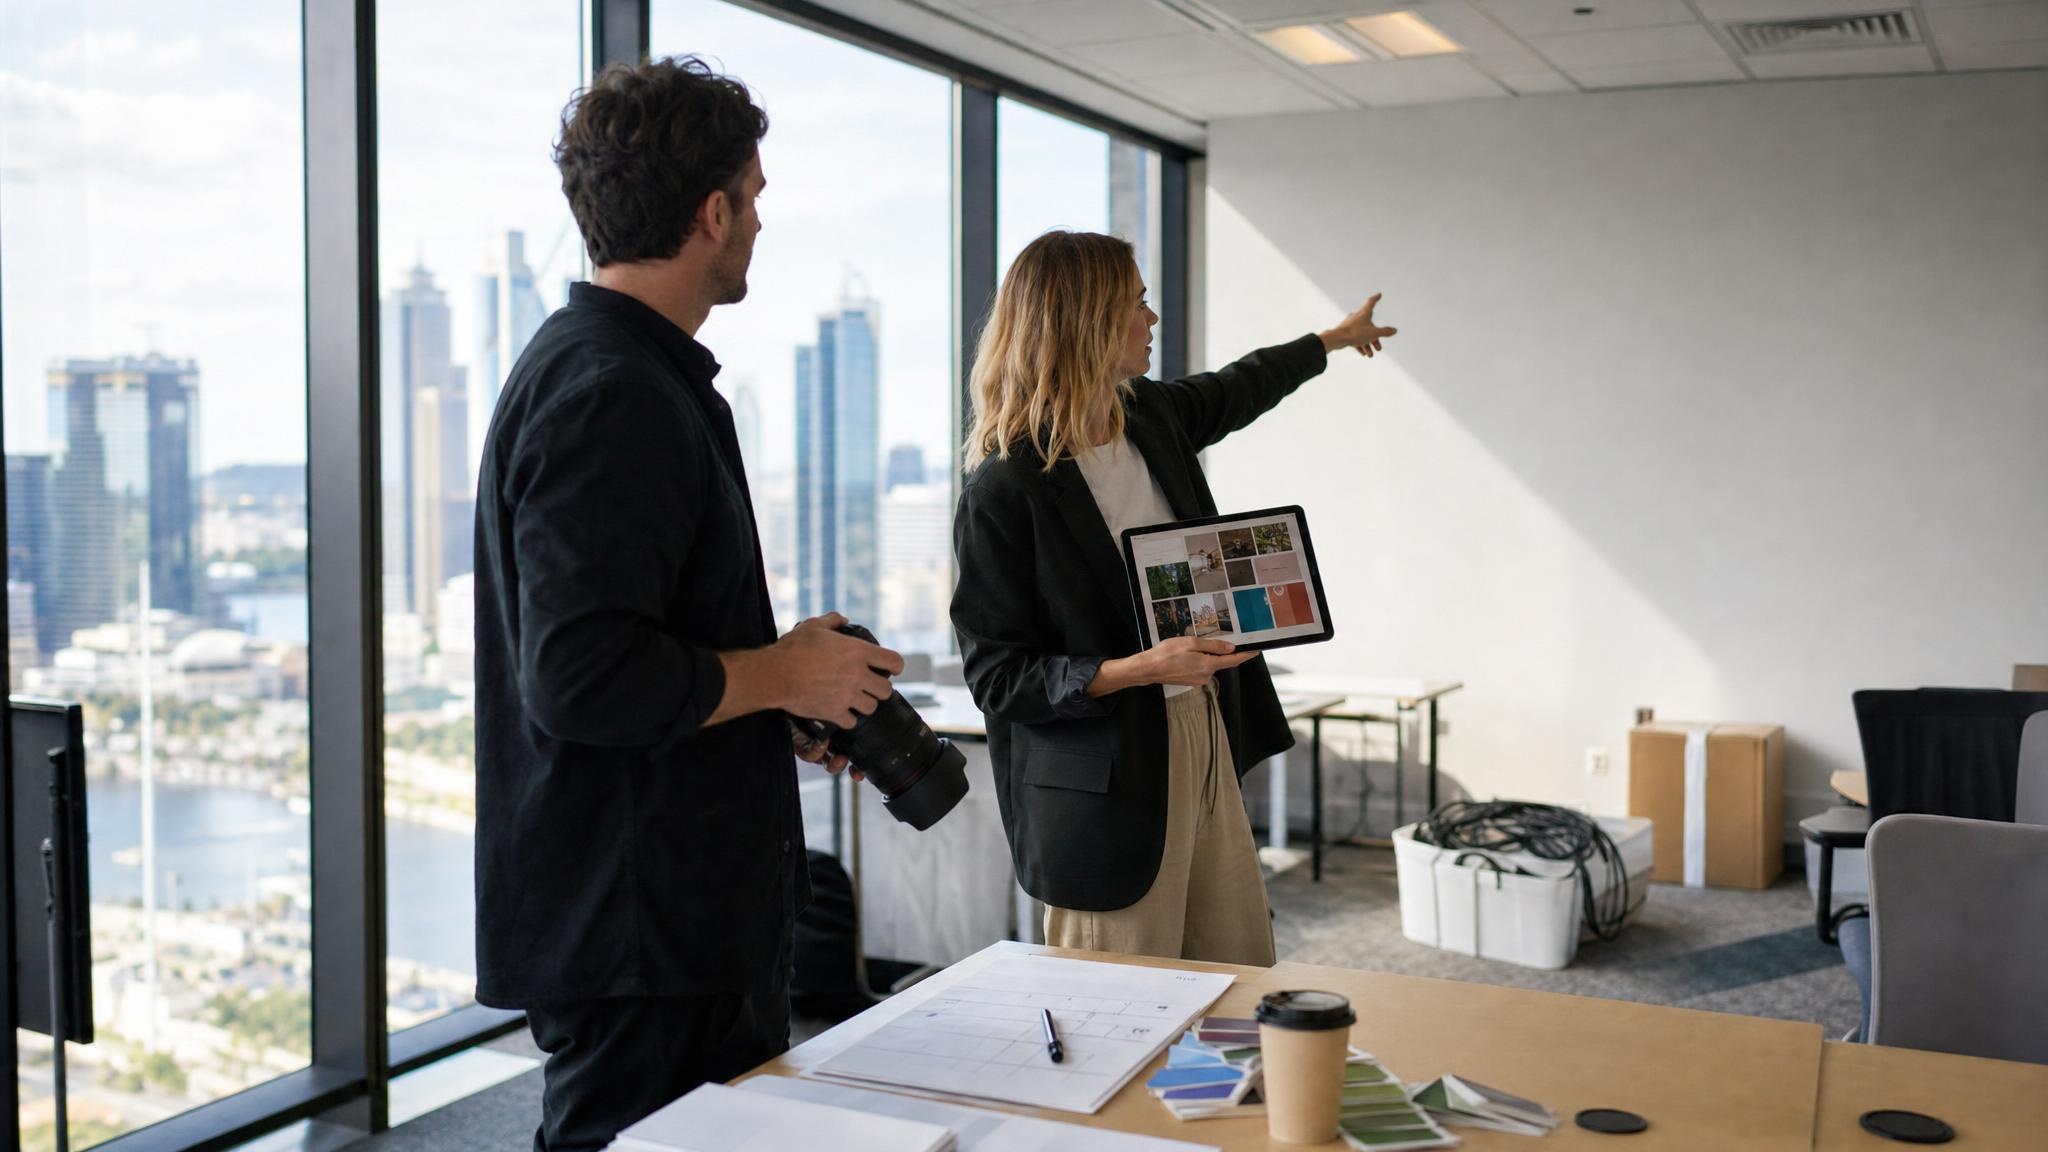
Planning an on-site brand photography shoot comes down to three things: defining your business goals and visual direction, scouting your location for lighting and logistics, and building a detailed, goal-driven shot list.
Get those right and the shoot day mostly runs itself.
Most shoots that go sideways don’t fail on the day. They fail in the week before, when nobody wrote a brief, the meeting room is still full of boxes, and the CEO turns up in a logo tee.
Step 1: Define Your Goals and Visual Direction
Before anyone picks up a camera, you need to know what the photos are for and what they should feel like.
Set Clear Objectives
Start by identifying why you need the images. A website redesign, a product launch, a steady feed of social content for an online business and a tender document all need different shots.
It’s also worth reviewing your existing photos to see what’s still on brand and what isn’t. Brand photography should be refreshed every 6 to 12 months to stay relevant, so treat this as a recurring job rather than a one-off.
Pin Down Your Brand’s Essence and Aesthetic
Define your brand’s essence before you hire a photographer. What do you want people to feel when they see your images? Your brand’s aesthetic (colours, mood and tone) needs to match everywhere it appears.
A mood board is the easiest way to communicate this. Pinterest works fine. Collect images, colours, textures and photography styles you like, whether that’s candid documentary, clean editorial or something moodier.
Share your tone of voice guidelines with your photographer too. If your copy is warm and casual, stiff corporate portraits will feel off.
Write a Brief and Book Early
Establish a clear brief with stakeholders on mood and styling before the shoot, not during it. Pick one person to sign off. A committee debating angles on the day burns time and money.
Book your brand photographer 4 to 6 weeks out, and review their portfolio and editing style against your vision.
To be fair, if you only need a few LinkedIn headshots, a good freelancer will do the job. If it’s a multi-location shoot with staff, sites and safety inductions, you want a crew that’s done it before.
Here’s more on what you’re actually getting when you hire a cheap content team.
Step 2: Scout and Prepare the Location
Your location does a lot of the storytelling, so it deserves proper attention.
Check the Lighting at the Same Time of Day
Visit the location at the exact time you plan to shoot. Assess the natural light and any spatial constraints, because good lighting is crucial for capturing compelling visuals.
Take note of the lighting conditions. Harsh midday glare through glass, flickering fluorescents, and mixed light sources are all things your photographer will need to manage with white balance and supplementary lighting.
While you’re there, check noise levels, foot traffic and which room or angle gives the cleanest frame.
Declutter and Style the Space
Choose spaces that reflect your brand’s narrative, then strip out anything that doesn’t belong. Old signage, tangled cables, dead plants and stacks of paperwork all draw the eye.
Leave some negative space in key areas. Designers will thank you when they need room to drop text over an image for a web banner or ad.
Place your logo where it sits naturally, like a reception wall, signage or vehicles. It shouldn’t be stuck on everything in frame.
Sort the Logistics and Safety
Confirm power access, parking and loading for equipment, building or site inductions, and backup options if any part of the shoot is outdoors.
Assign a designated point of contact to manage logistics and keep the shooting area organised on the day. Collect signed media consent and model release forms from everyone who’ll appear in the photos, staff included.
On industrial and construction sites, this matters even more. Inductions, PPE and insurance aren’t optional extras. Birds Eye carries $20 million public liability cover, and our corporate photography crews are used to working within site rules.
Step 3: Organise Wardrobe, Props and the Shot List
This is where planning turns into actual pictures.
Plan Outfits That Match Your Brand
Choose solid colours and layers that complement your brand’s colour scheme. Simple, timeless wardrobe choices date far slower than trends.
Avoid loud logos and tiny patterns, which can distort on camera. Ask everyone to bring a backup outfit, just in case.
Choose Props That Tell Your Story
Props can do a lot for your brand’s visual storytelling. Think tools of the trade, branded stationery, laptops, your product or even well-placed coffee cups.
The rule is simple: every prop should earn its place in the frame. If it doesn’t help tell the story, leave it out.
Build a Shot List With Must-Haves and Nice-to-Haves
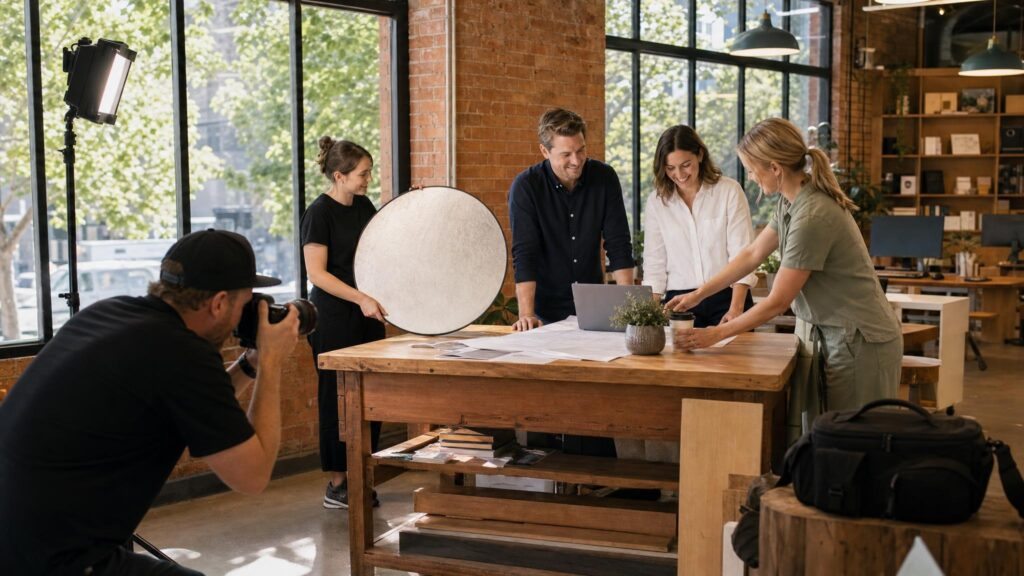
Create a detailed shot list before the shoot. It keeps the photography on brand and simplifies the whole process for everyone involved.
Split it into must-haves and nice-to-haves. Then cover a mix of wide environmental shots, mid-range shots of your team at work, close-up details and candid expressions.
Map each shot to where it’ll be used, such as the homepage hero, product pages or social posts, so nothing gets missed.
Your photographer will handle the technical side. For example, a wider aperture adds depth to portraits and keeps the focus on the person, while a faster shutter speed freezes movement in action shots.
You don’t need to know the settings, just the outcome you want.
Step 4: Plan the Timeline and Shoot Day Workflow
A realistic schedule is what separates a smooth shoot from a stressful one. Plan your timeline to maximise efficiency, build in buffer time for delays, and leave 30 to 45 minutes open for creative ideas that pop up on the day.
A simple workflow looks like this:
- Arrival, setup and a quick walkthrough
- Start shooting with the highest-priority shots while energy is high
- People shots before the lunch break
- Details, product and backup shots last
Good crews also back up data on-site using dual-card recording and transfer files straight away. Nobody wants to reshoot because a memory card died in the car park.
If you need video as well, it’s worth capturing corporate video on the same day while the location is already set up.
Why On-Site Brand Photography Is Worth Planning Properly
First impressions are visual. Your website, product pages and socials are where potential clients decide whether your business is the real deal, often in a few seconds.
Cohesive brand photography improves how people perceive you and builds brand loyalty over time. Authentic visuals also set you apart from competitors still leaning on the same stock photos as everyone else in your industry.
Shooting on-site, rather than in a studio, shows the world your team actually works in. The office, the shop floor, the retail store, the job site. That’s a story stock imagery can’t tell, and it’s why commercial brand photography shot in your own space connects with an audience in a way generic images never will.
What Happens After the Shoot
Once the shoot wraps, the photographer culls the images, edits them to your brand standards and keeps colour consistent across the full set. You should receive files sized for both web and print.
The shoot is only half the job. The edit is where the photos either look like your brand or they don’t.
Need to Do an On-Site Brand Photography Shoot? birds eye media can help!
A great shoot is won in the week before, not on the day itself.
Nail your goals and visual direction, scout the location properly, and build a shot list that maps to where each image will be used.
Sort the wardrobe, props, timeline and logistics early, and the shoot day mostly runs itself. If you would rather not juggle all of that alone, that is where we come in.
Get in touch with us today, and let us capture your brand in the space where it actually works.